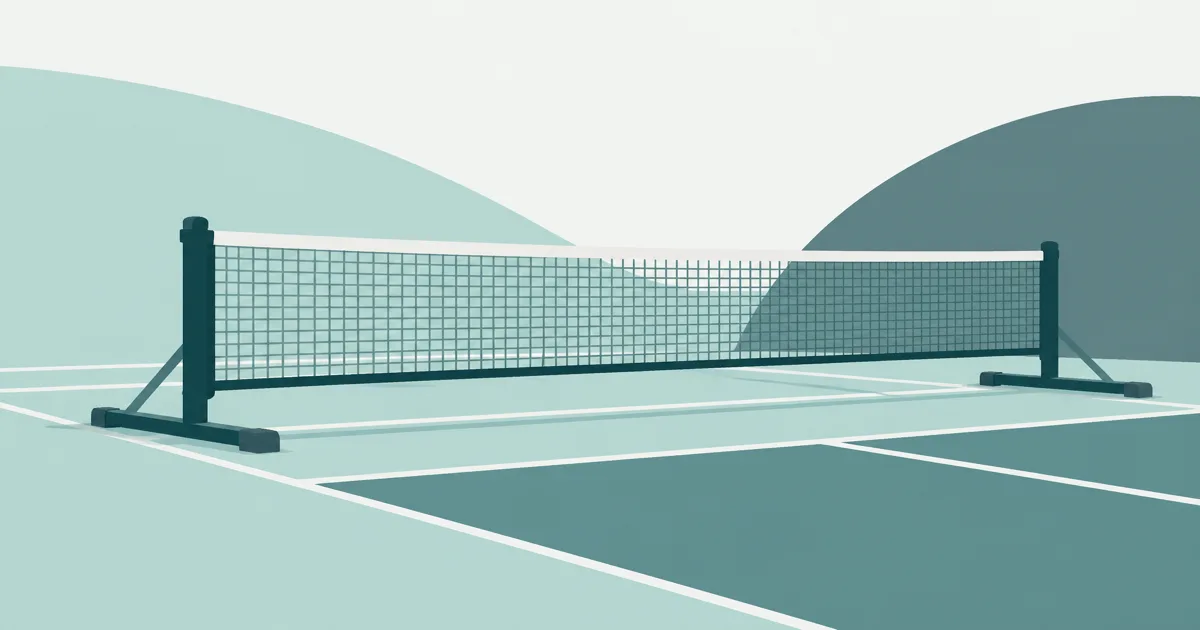
Portable Pickleball Net Setup: Court Size, Anchors, and Wind Tips
Accessories
A portable pickleball net turns a flat patch into a court if you respect official size, stable anchors, and wind. Here is a setup framework that holds up.
Our picks
Driveways, church parking lots, and park flats are courts if your setup is honest. A portable pickleball net is the center of that setup, but height, width, and stability matter as much as owning a frame. Get those wrong and you practice bad habits on a net that sags or walks in the breeze.
Net setup is one job, and the pickleball accessories guide collection covers the rest of the court kit.
This guide covers court size basics, a step-by-step portable pickleball net setup, anchors, wind, and the mistakes that waste first sessions. Get the center strap tight and the posts square before you argue about whether the net is regulation height.
Once the net is up, match balls to surface. Read best outdoor pickleball balls for asphalt and indoor vs outdoor pickleball balls if you split time between garage and patio.
Court size and spacing before you unpack
Official pickleball court dimensions are 44 feet long by 20 feet wide for doubles. The net spans 20 feet at the posts with a 34-inch center height and 36 inches at the sidelines. Non-volley zone lines sit seven feet from the net on each side. You do not need painted lines for casual family play, but you need enough length and width that kitchen depth and baseline spacing feel real.
Measure your space before buying a net system. A tight driveway may fit a shortened court for dinks and serves but not full baseline drives. That is fine for skill work if everyone knows the space is compressed. It is less fine if you are rehearsing tournament positioning.
Leave buffer zones beyond baselines when possible. Three to five feet behind each end line keeps players from running into cars, fences, or garden beds. Sideline buffer helps too, especially for doubles poaching.
Step-by-step portable net setup framework
Unpack and inventory parts against the manual once. Missing a strap or center rod is easier to fix before assembly than after the frame is half upright.
Step one: lay out base feet where posts will sit. Check that the ground is level. Shim low corners with approved pads if the manual allows. Do not stack random bricks that wobble mid-session.
Step two: assemble side posts and crossbars per the manufacturer sequence. Most systems build two end frames, then connect with a top tube or tension strap. Hand-tighten first, then firm once the net hangs.
Step three: hang the net and set height. Measure center at 34 inches and posts at 36 inches using a tape measure, not eyeballing. Sagging centers teach net-clearance errors that do not transfer to a proper court.
Step four: tension evenly. Pull strap or cord so the net is straight, not twisted. Uneven tension walks frames inward during play.
Step five: install anchors before anyone hits. Stakes, sandbags, or weighted feet should be part of every outdoor setup, not an afterthought when the frame shifts.
Anchors, feet, and surface-specific tips
Driveways and sport courts favor wide feet with rubber pads plus sandbags on each leg. Asphalt is hard and stable but sloped driveways still need leveling checks.
Grass needs stakes or corkscrew anchors through foot plates where permitted. Soft ground lets posts lean during lateral hits against the net. Re-check tension after ten minutes of warm-up.
Indoor gyms often ban stakes. Use weighted bases within facility rules. Ask before you mark floors with tape for lines. Some rec centers supply permanent nets on weekends only.
Garage setups are great for winter reps. Watch ceiling height on lobs and use softer indoor balls to protect finishes. See indoor vs outdoor pickleball balls for bounce differences that affect net practice.
Wind, weather, and when to pack up
Wind is the main outdoor enemy. Gusts lift net panels like sails and tilt light frames. Anchor every leg, face the net broadside to the prevailing wind when you can, and shorten rallies when gusts spike.
Rain warps some net tapes and rusts lower-grade hardware if you store wet. Dry the net before bagging. Sun is less dramatic day to day but UV still ages nylon over seasons. Store out of direct heat when possible.
If wind exceeds the frame rating or anchors pull loose once, stop. Broken frames and twisted ankles are not worth finishing a rec set. Pack early and note which anchor setup failed so you fix it next time.
Common portable net setup mistakes
Mistake one: skipping height measurement. A net two inches low turns every dink into a net ball in your muscle memory.
Mistake two: uneven tension. One tight side and one loose side twists the frame until something buckles.
Mistake three: no anchors on a calm day that turns windy. Weather shifts fast on open parks.
Mistake four: playing on a slope because the flat patch is twenty feet farther. Slopes hurt ankles and skew bounce.
Mistake five: leaving the net up overnight unsecured. Dew, critters, and passersby damage gear you meant to use next weekend.
Mistake six: using dead outdoor balls on a fresh net setup. Bad balls hide timing issues. Rotate decent practice balls from best outdoor pickleball balls.
Educational buyer framing without overselling gear
Most portable systems fall into three buckets: lightweight carry for occasional park play, midweight club setups with better tension hardware, and heavy bases meant for semi-permanent backyard placement. Match weight to how often you haul it. A frame you never load because it is too bulky does not help your game.
Look for clear height adjustment, labeled parts, and replaceable net panels. Hardware stores matter when a single clamp fails. Read return policies if you are between driveway size constraints and full court ambitions.
You do not need the most expensive net to learn. You need correct height, stable feet, and a flat space. Upgrade when you know how often you set up and what failed on your first season, not before your first assembly.
After setup: balls, lines, and next steps
Mark temporary kitchen and baseline lines with chalk, tape, or cones if you are practicing scoring and footwork, not just casual taps. Even three cones per side for kitchen depth improves drill honesty.
Pick balls for the surface under the net. Outdoor hard courts want durable outdoor balls. Indoor garages want softer indoor balls with less skid. Mixed setups benefit from reading both ball guides linked above.
For more gear and setup notes across paddles, bags, and court kit, browse Paddlefoundry or return to the ball guides once your portable pickleball net is square, anchored, and ready for reps.
Setup kit that matches the checklist
Use the Franklin Sports Portable Outdoor Pickleball Net with Travel Bag so wheels and a bag are part of the system you actually carry. Measure 36 inches at the sidelines and 34 inches at the center after tensioning.
Bring Franklin X-40 Outdoor Pickleballs 3-Pack for driveway and park asphalt. Add sandbags or stakes before the first breeze, not after the posts start walking.
Frequently Asked Questions
How long does it take to set up a portable pickleball net?
Most systems take fifteen to twenty-five minutes the first time and ten to fifteen once you know the steps. Lay out parts in order, assemble the frame, then tension the net last.
What court size do you need for a portable pickleball net?
A full doubles court is 44 feet long by 20 feet wide with a 36-inch net height at the sidelines and 34 inches at center. Driveways and parks often use shortened spaces for casual play, but official height and kitchen rules still apply if you are practicing real scoring.
How do you keep a portable net stable in wind?
Use ground stakes or sandbag anchor points on the feet, lower your swing pace in gusts, and angle the frame so tension pulls down, not sideways. Take the net down when winds exceed what the frame rating suggests.
Can you set up a portable pickleball net on grass?
Yes, if the surface is level and feet are anchored. Grass softens footwork and can hide uneven spots. Walk the area first and fill low spots so the frame sits flat.
Do indoor and outdoor balls matter for net practice?
They do for bounce and rally feel. Outdoor balls are harder and wind-sensitive. Indoor balls are softer and better for garage sessions. See our ball guides once the net is up.
How do I measure portable net height correctly?
Use a tape measure, not your eyes: 34 inches at the center and 36 inches at the posts. A net two inches low teaches net-clearance errors that do not transfer to a proper court.
What surface is best for a portable pickleball net?
A flat, level surface works best, whether that is a driveway, sport court, or level grass. Avoid slopes, because they hurt ankles and skew the bounce.